

Ok so first things first! Since I have all the hardware components I can start to put together this lab. I’ve already installed the memory into the NUCs and now I need the installation media to install and configure the ESXi 6.5 boot drive.
Things I’ll need
I’ll need a few prerequisites before I can create our install media. I used the info from Dee Abson’s blog as a guide since he currently uses the same NUC (D54250WYK/H) version.
- 2. Sata aHCi & usb 3.0 Driver
- 3. Powershell script
These are all the usual files contained in the ESXi ISO that I need to use to create a bootable ISO. Make sure you have an active account created at myvmware.com
What is an ESXi?

Build the ISO
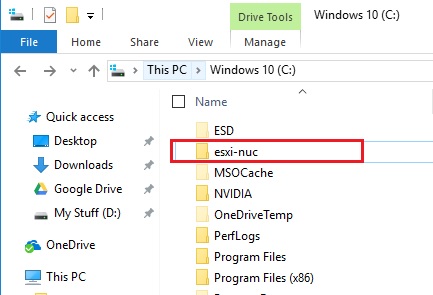
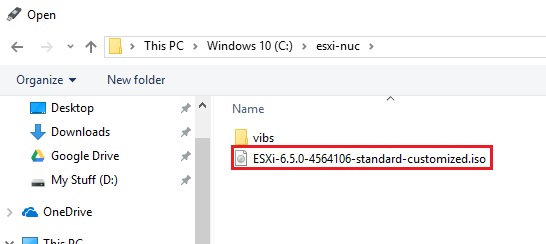
Sweet. Now that we have all those files downloaded, create a directory somewhere to build the ISO.
I’ll just create a folder on the root of my c:\ drive and call it c:\esxi-nuc
Then you’ll need to copy the following files to this directory
- ESXi-Customizer-PS-v.2.5.ps1
- VMware-ESXi-6.5.0-4564106-depot.zip
*Keep in mind that the versions on the filenames will likely change depending on when you’ve downloaded the files.
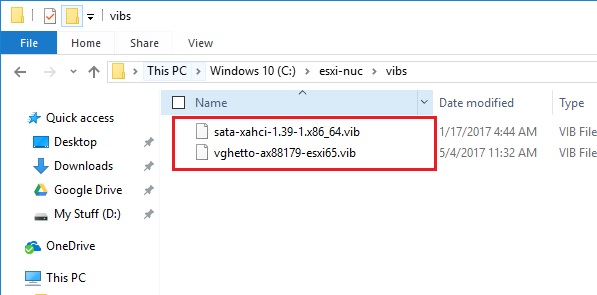
Next, create another sub-directory that contains all the VIBs we’ve downloaded. Just call it c:\esxi-nuc\vibs

Extract the VIB file from the SATA .zip archive. Place both the VIBs you’ve downloaded to c:\esxi\nuc\vibs.
- sata-xahci-1.39-1.x86_64.vib
- vghetto-ax88179-esxi65.vib
Aiite. Time to run the PowerShell script we downloaded to generate the ISO file. Launch PowerShell and navigate to the c:\esxi-nuc directory.
From here we are going to run the following command based on the PowerShell script we downloaded earlier and run the following command below:
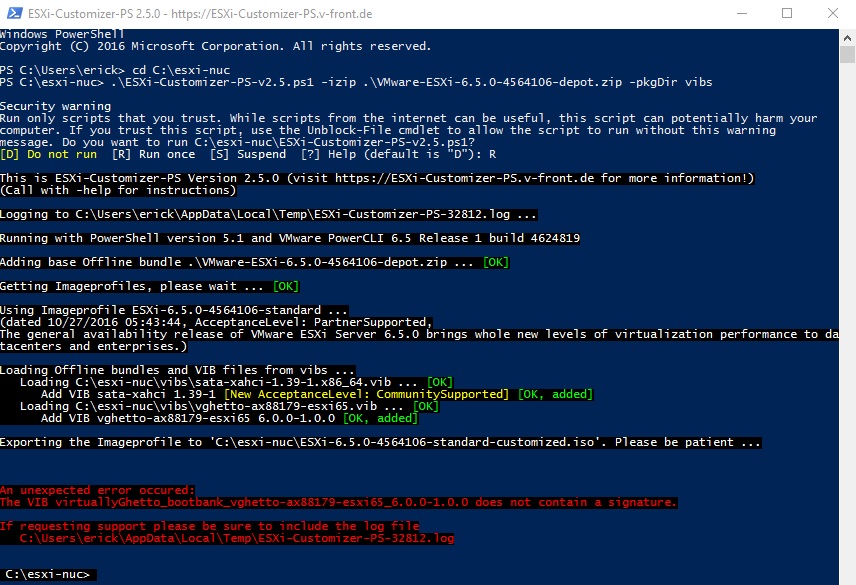
.\ESXi-Customizer-PS-v2.5.ps1 -izip .\VMware-ESXi-6.5.0-4564106-depot.zip -pkgDir vibs -nsc

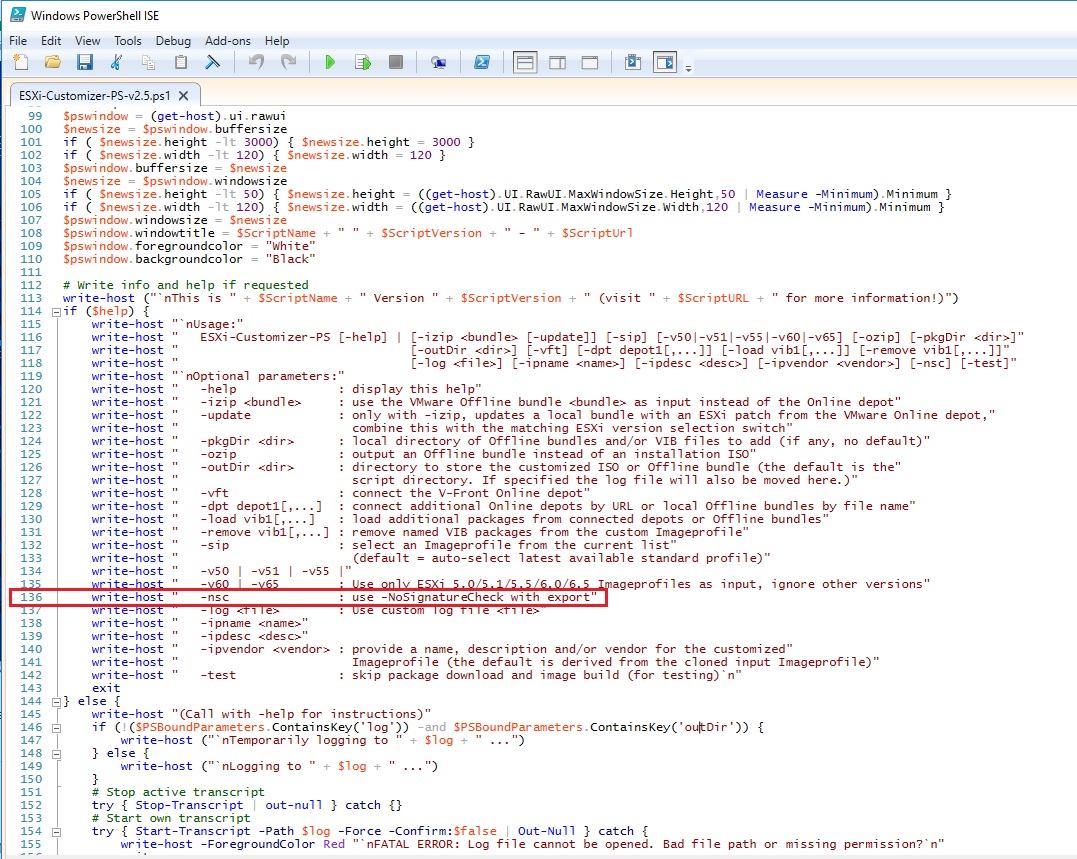
*The -nsc switch will allow the creation of the ISO by ignoring unsigned drivers. Otherwise you’ll receive the error below.
If you examine the script, you’ll find the switch on line 136
You’ll be greeted with some security warning about running scripts. Just press R and then Enter

It’ll run through it’s process and create the ISO. Should look similar to this when complete.
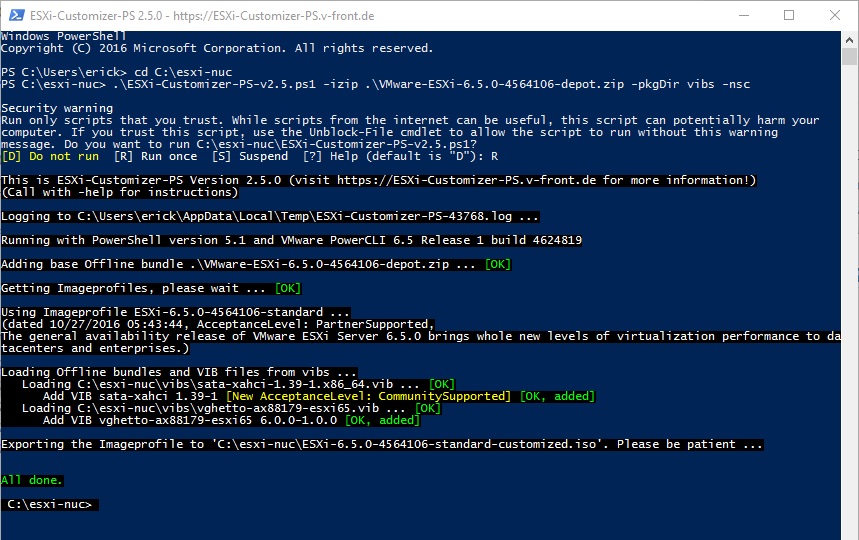
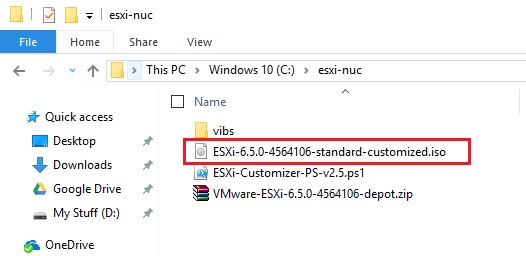
Yey the ISO is created.

Create A Bootable USB
Next I need to create a bootable USB out of this spanking new ISO we got. So you can pick your poison and use whatever application you are used to making bootable USBs with. I usually use the portable version of Rufus so download whichever one you want.
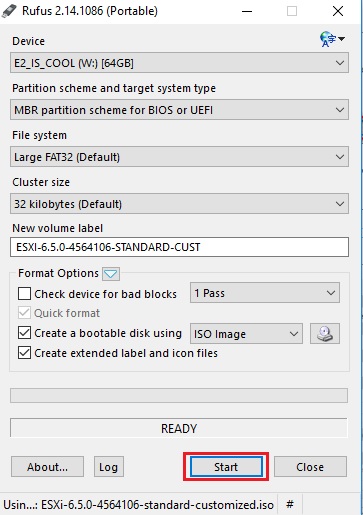
Launch Rufus
Make sure your target drive is the flash drive. In this case mine is the W: drive.
Keep the defaults and make sure you change FreeDOS to ISO Image
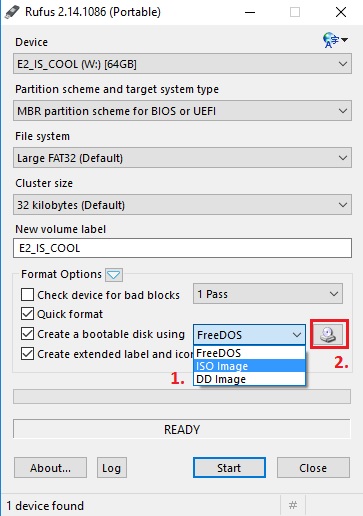
Once you change that, select the little CD Drive icon and select your source which will be the newly created ESXi 6.5 ISO in your c:\esxi-nuc folder.
After selecting the ISO, click on Start
Some lame warning will pop up about using an obsolete version of ‘menu.c32’ file. Just click on Yes to download the file.

Next click on OK and allow all the existing data on the USB to be destroyed.

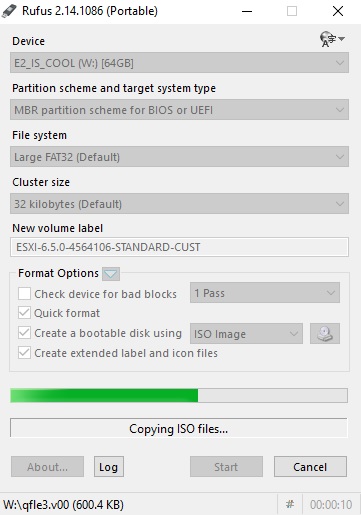
Rufus will then start to install and do things. Basically it’ll format the USB drive to be bootable and extract the ISO contents directly on the device.
Once complete, you’ll be back to the original menu but with a full green bar across the progress line. The USB drive should now be a bootable ESXi 6.5 Installer. Click Close.
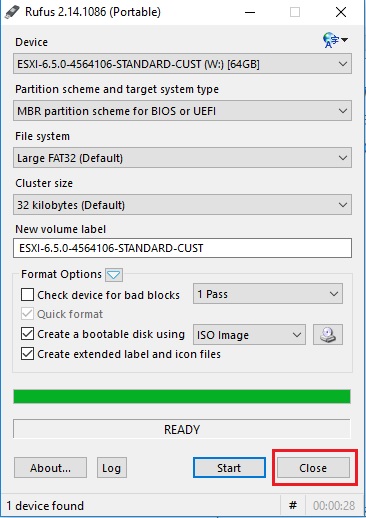
Now that I have the bootable ESXi installer, I can now plug this into one of the USB ports on my NUC and install ESXi onto the empty 8GB USB drive which will be used to run the hypervisor. More about that in Part 2.

[…] that we’ve created our install media in Part 1, we can move on to installing ESXi on the 8GB USB boot […]
[…] that we’ve created our install media in Part 1, we can move on to installing ESXi on the 8GB USB boot […]