Now that we’ve created our install media in Part 1, we can move on to installing ESXi on the 8GB USB boot drive.
Plug In Your Drives
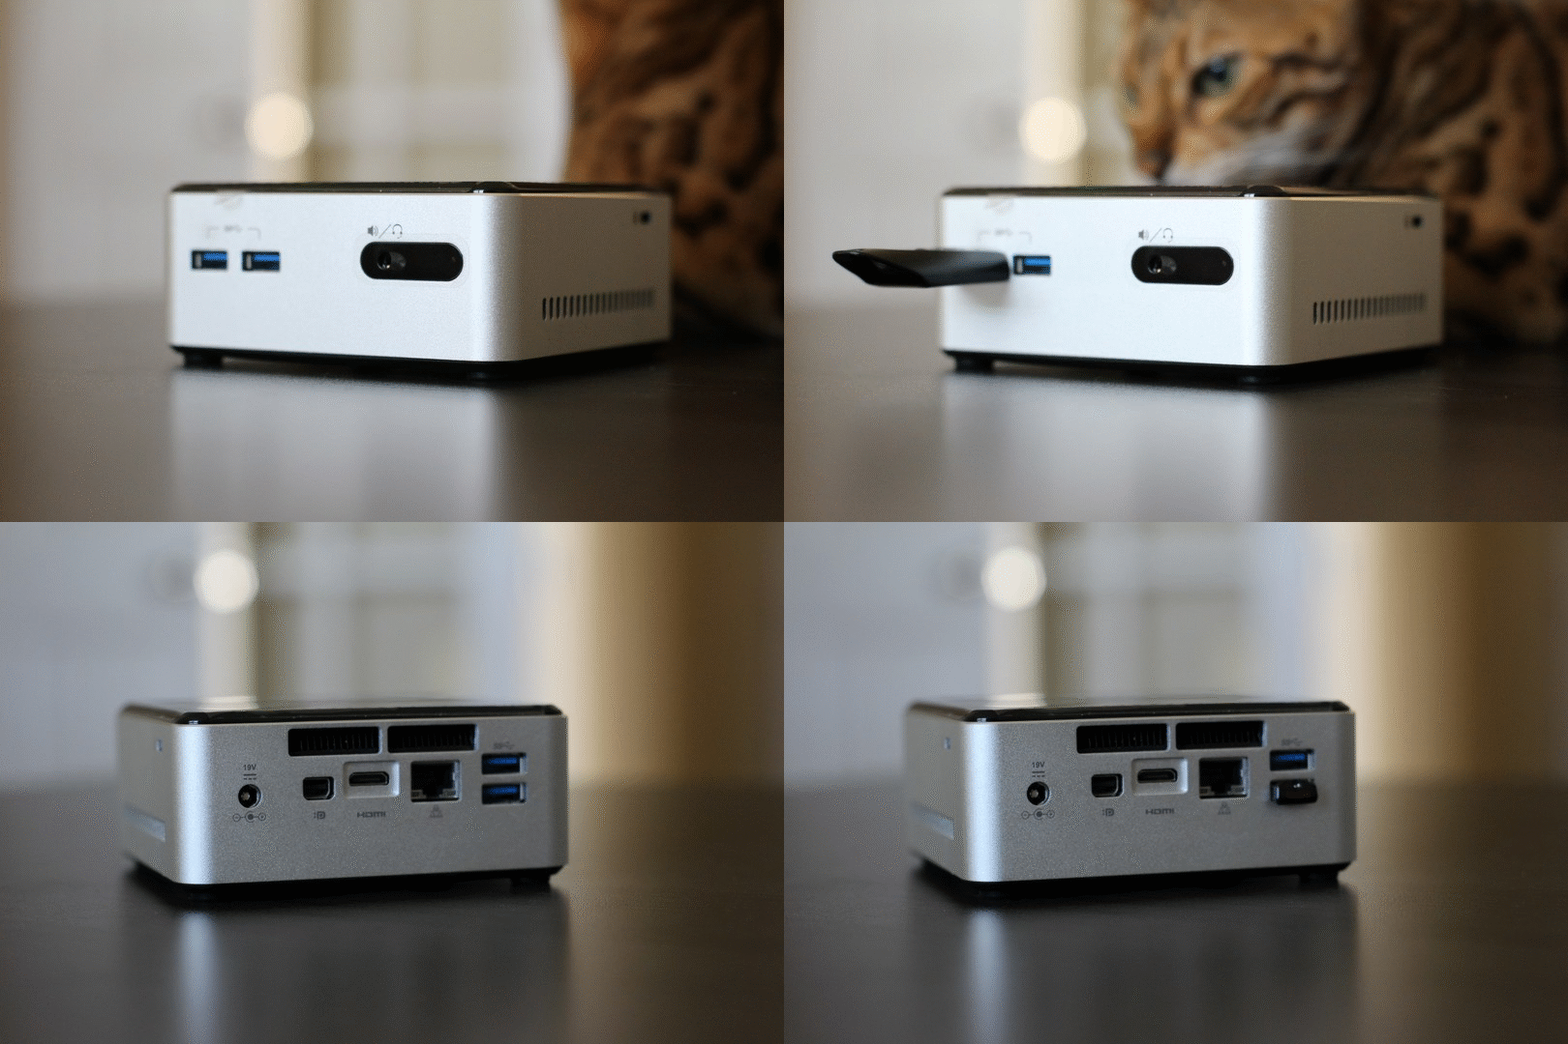
Make sure you plug in both drives into your NUC. I’ll plug in the ESXi installer into the front USB port and the static boot drive will remain plugged in on the back.
Booting Up The NUC
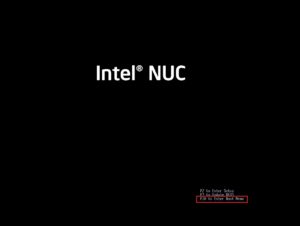
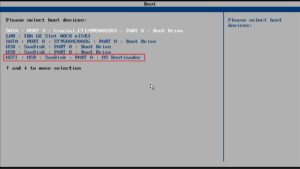
After plugging in a keyboard and the ac adapter, fire up the NUC. You can enter the BIOS with the F2 key and configure your boot options. Otherwise just hit F10 and choose the correct boot device.
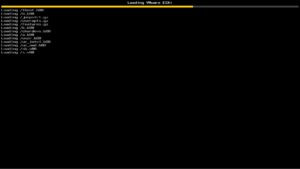
Once selected the ESXi installer should start to load and initialize.
Installing ESXi 6.5
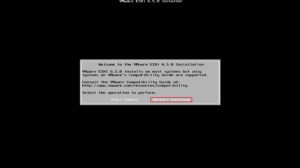
When that is done doing its thang, you’ll be prompted to finally install ESXi 6.5. Simply press Enter to continue.
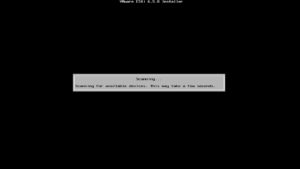
It’ll then start to scan available devices looking for any storage device to install itself onto.
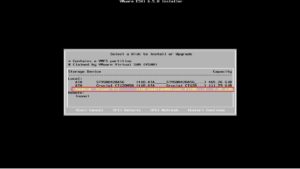
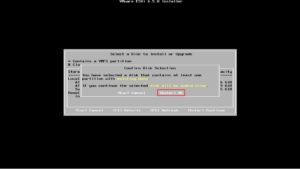
When the scan is done it’ll ask you to pick a disk to install or upgrade. Select the 8GB SanDisk drive that we’ll be using as our boot drive. Once you do, the installer will say blah blah blah…I’m going to overwrite things and stuff and things. Just press Enter to continue.
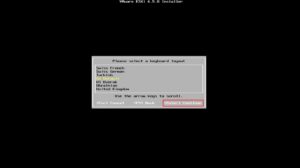
Pick a desired keyboard layout and press Enter.
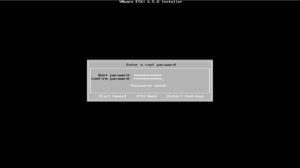
Then select your root password (Password Requirements) and press Enter
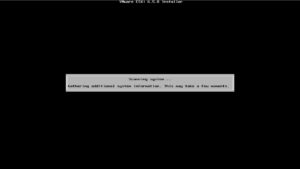
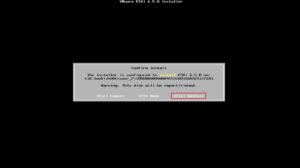
Another scan will briefly take place and gather additional system info. Finally, you’ll want to confirm the install by pressing on F11
Now go make a sandwich, do some burpees, or get lost in a few YouTube vids, because depending on how slow your system is, it’ll take a bit to install.
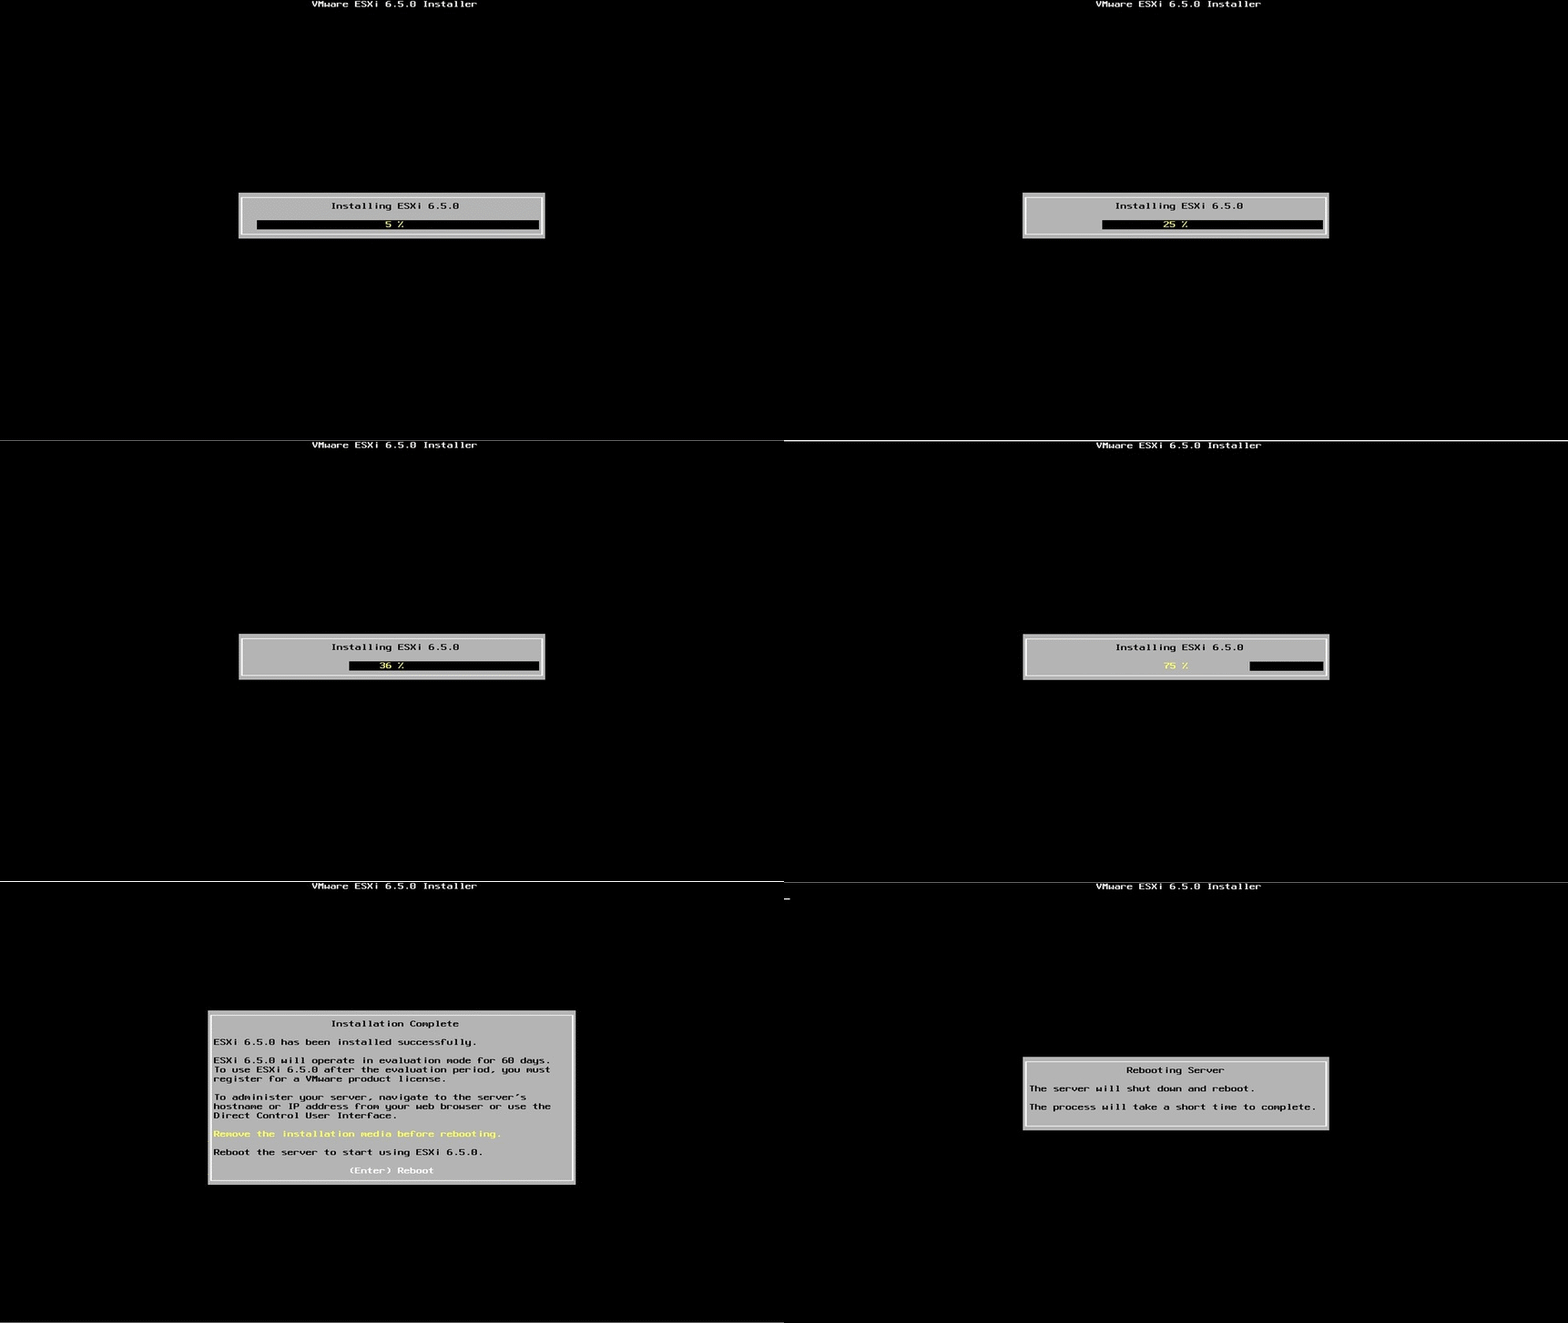

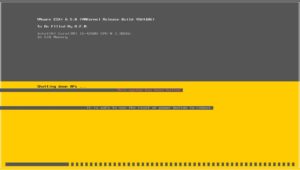
When that is done, the system will reboot.
*Make sure you remove the ESXi installation USB at the prompt, otherwise depending on how you set your boot devices, it’ll just boot back into install mode.
Configuring ESXi 6.5 Host
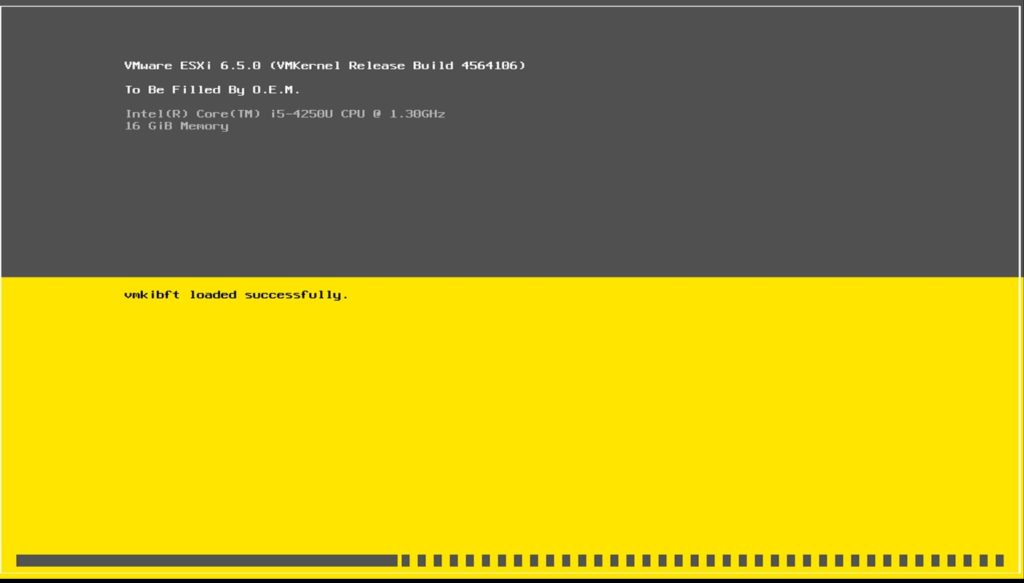
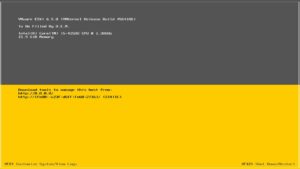
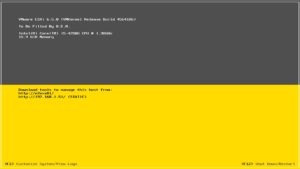
After rebooting, the NUC should start loading ESXi from the 8GB USB flash drive plugged into the back of your NUC. After loading the system will finally be up and running. We’ll just have to do a few minor config changes to be able to access it.
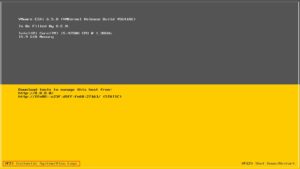
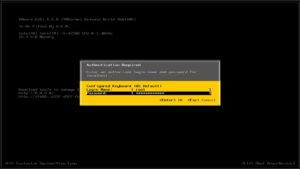
First thing you’re going to want to do is click on F2. This will bring up a login prompt to get into the host config. Enter the root password you previously set upon the initial install then press Enter
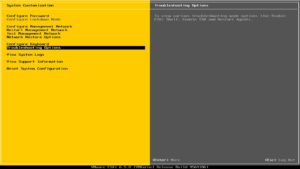
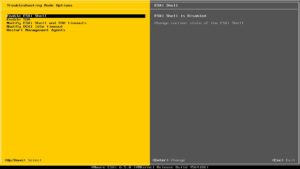
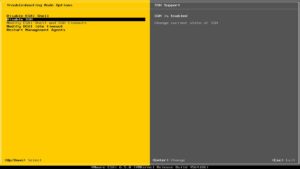
Before setting the IP on the host, I like to navigate down to the Troubleshooting Options section and Enable ESXi Shell and SSH. Simply press Enter over each option to Enable.
I do this because after configuring the IPv4 address and disabling IPv6, the system will ask for a reboot to disable IPv6. Since I’ve yet to use IPv6 I typically disable it. I also want to make sure that once I IP the system, I no longer need this console to mange these options on the host as I can do it via SSH remotely.
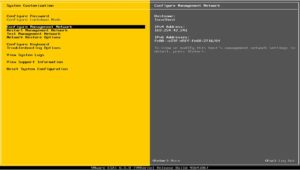
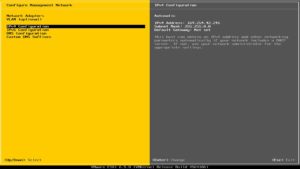
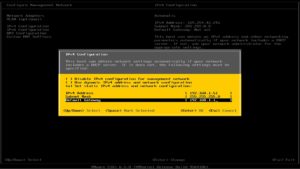
Next we will configure the networking portion to access the host. Navigate to Configure Management Network and select the IPv4 Configuration and press Enter. IP your host with whatever network scheme you choose. I’ll be using a class C network. When done press Enter.
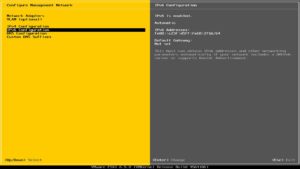
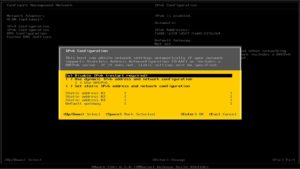
Navigate to the IPv6 Configuration page. Use the spacebar to select the first option and Disable IPv6. Then press Enter when done.
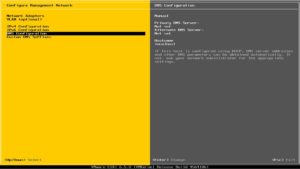
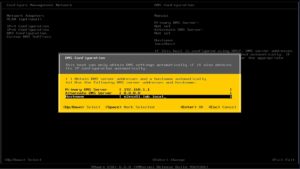
Head down to DNS Configuration and press Enter. Type in your Primary and Secondary DNS Server. Since I’m currently not running a DNS server I’ll just use my routers default DNS server which will forward requests to the DNS servers of my ISP. I also threw in Google’s Public DNS server as my secondary DNS server just as an example. You can actually leave this blank. Either way, these options can be changed anytime.
Finally set a hostname for your ESXi host.
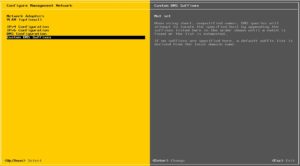
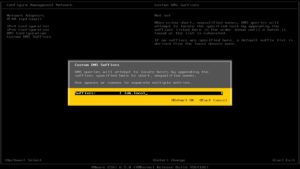
The last item on this page is the Custom DNS Suffixes. I’ll be using lab.local for my homelab shenanigans. Once done press Enter to save.
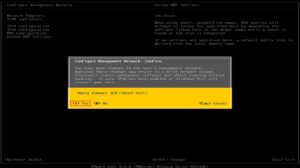
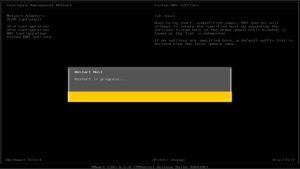
Afterwards we are going to want to hit the Esc key to go back to the main menu. However, you’ll be greeted with a prompt to reboot the host because of the IPv6 change. Press the “Y” key to continue with the reboot process.
The system will boot back up to the main page. Now that we have our IP set we just need to make a quick change to be able to access our host by name rather than IP.
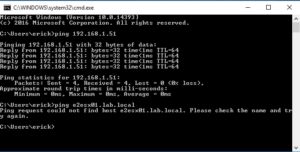
Pinging the IP address of the newly created host works fine on my local machine. However, I’m unable to ping the box by hostname.
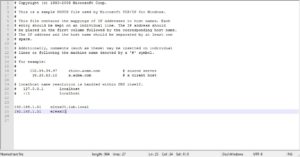
We will need to edit the local hosts file on our local machine since I don’t currently have a working DNS server. What we are going to want to do is open up an administrative command prompt and type the following:
C:\Windows\system32>cd c:\Windows\System32\drivers\etc
C:\Windows\System32\drivers\etc>start notepad++ hosts
If you aren’t running Notepad++ you can simply do:
C:\Windows\System32\drivers\etc>notepad hosts
Once the hosts file opens, you’ll want to add two lines. One for the FQDN of your host and one for the short name. Once added, save the file and head back over to your command prompt.
Run a flushdns command:
C:\Windows\system32>ipconfig /flushdns
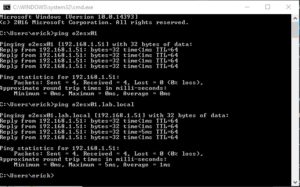
You should now be able to ping the ESXi host by FQDN and shortname which will now resolve an IP address.
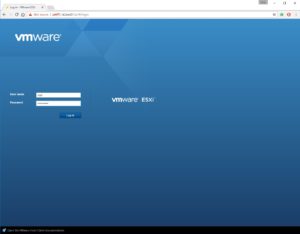
Finally launch any web browser and navigate to your host using the hostname. In my case I’ll be using the following.
https://e2esx01
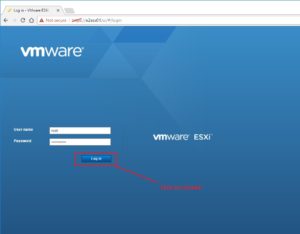
Simply login using the root credentials you’ve setup initially.
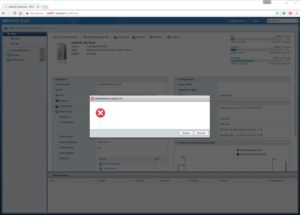
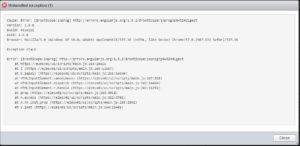
** I’ve noticed a weird bug when using Chrome (ver. 57.0.2987.133) to login to the ESXi host. After entering your credentials and pressing Enter you are greeted with an Unhandled exeception error forcing you to reload the page.
Cause: Error: [$rootScope:inprog] http://errors.angularjs.org/1.3.2/$rootScope/inprog?p0=%24digest
Version: 1.8.0
Build: 4516221
ESXi: 6.5.0
Browser: Mozilla/5.0 (Windows NT 10.0; WOW64) AppleWebKit/537.36 (KHTML, like Gecko) Chrome/57.0.2987.133 Safari/537.36

Exception stack:

Error: [$rootScope:inprog] http://errors.angularjs.org/1.3.2/$rootScope/inprog?p0=%24digest
     at https://e2esx01/ui/scripts/main.js:263:20611
     at l (https://e2esx01/ui/scripts/main.js:265:12567)
     at k.$apply (https://e2esx01/ui/scripts/main.js:265:16690)
     at HTMLInputElement.<anonymous> (https://e2esx01/ui/scripts/main.js:267:828)
     at HTMLInputElement.dispatch (https://e2esx01/ui/scripts/main.js:262:14464)
     at HTMLInputElement.r.handle (https://e2esx01/ui/scripts/main.js:262:11251)
     at prop (https://e2esx01/ui/scripts/main.js:263:3018)
     at n.access (https://e2esx01/ui/scripts/main.js:262:6702)
     at n.fn.init.prop (https://e2esx01/ui/scripts/main.js:263:2642)
     at V.$set (https://e2esx01/ui/scripts/main.js:264:21408)
It seems to resolve itself when you actually use the mouse and click on the ![]() button instead of simply pressing Enter.
button instead of simply pressing Enter.
Now we can do cool stuff...
This concludes the Home Lab Setup portion. Remember, you will need to go through these steps all over again for any new hosts you are thinking about adding.



[…] Now that I have the bootable ESXi installer, I can now plug this into one of the USB ports on my NUC and install ESXi onto the empty 8GB USB drive which will be used to run the hypervisor. More about that in Part 2. […]
[…] Now that I have the bootable ESXi installer, I can now plug this into one of the USB ports on my NUC and install ESXi onto the empty 8GB USB drive which will be used to run the hypervisor. More about that in Part 2. […]